Not Just Another AWS S3 Tutorial
Simple Storage Service (S3) was one of the initial set of AWS services and has been increasingly popular. It offers object-based storage with low latency, high durability, and availability. In this tutorial, we will cover an overview of S3, how to create a bucket, it’s basic usage and some tips.
S3 Overview
Following are the key capabilities offered by S3.
- It is a Global service.
- It offers object-based storage. Think of it as a file share in the cloud. It cannot be used for a filesystem (such as for EC2).
- S3 organizes objects into buckets.
- A bucket belongs to an AWS region.
- A bucket name is globally unique. That’s right! Remember S3 is a global service.
- An S3 bucket can be public or private. It is recommended to avoid making buckets public. If you need to share a bucket, there are other ways of sharing, which we will discuss later in this tutorial.
- It can store multiple objects.
- A folder hierarchy can be created to further organize the objects.
- S3 supports object lifecycle management capabilities like versioning and storage tiering.
- Versioning allows maintaining and using multiple versions of an object.
- Storage tiering is a popular concept in storage domain to move an object to a more aptly priced storage (typically cheaper) based on the lifecycle and access needs. For example, for data that does not need to be frequently accessed, it could be moved to Amazon Glacier, which is cheaper than keeping it in S3. This is accomplished via lifecycle policies.
- S3 offers various levels of availability and durability based on the storage class. For example, the S3 Standard storage class (the default) offers high availability and durability for frequently accessed data, whereas, S3 Standard-IA (Infrequent Access) offers reduced availability as the data is intended to be infrequently accessed. S3 pricing varies based on the storage class.
Getting Started With S3
Create an S3 Bucket
Let’s see how to create a bucket in S3.
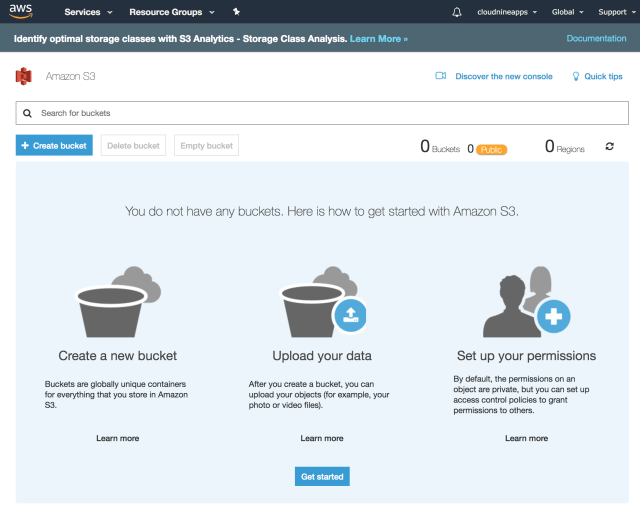
- Go to the S3 Console and click on Create bucket.
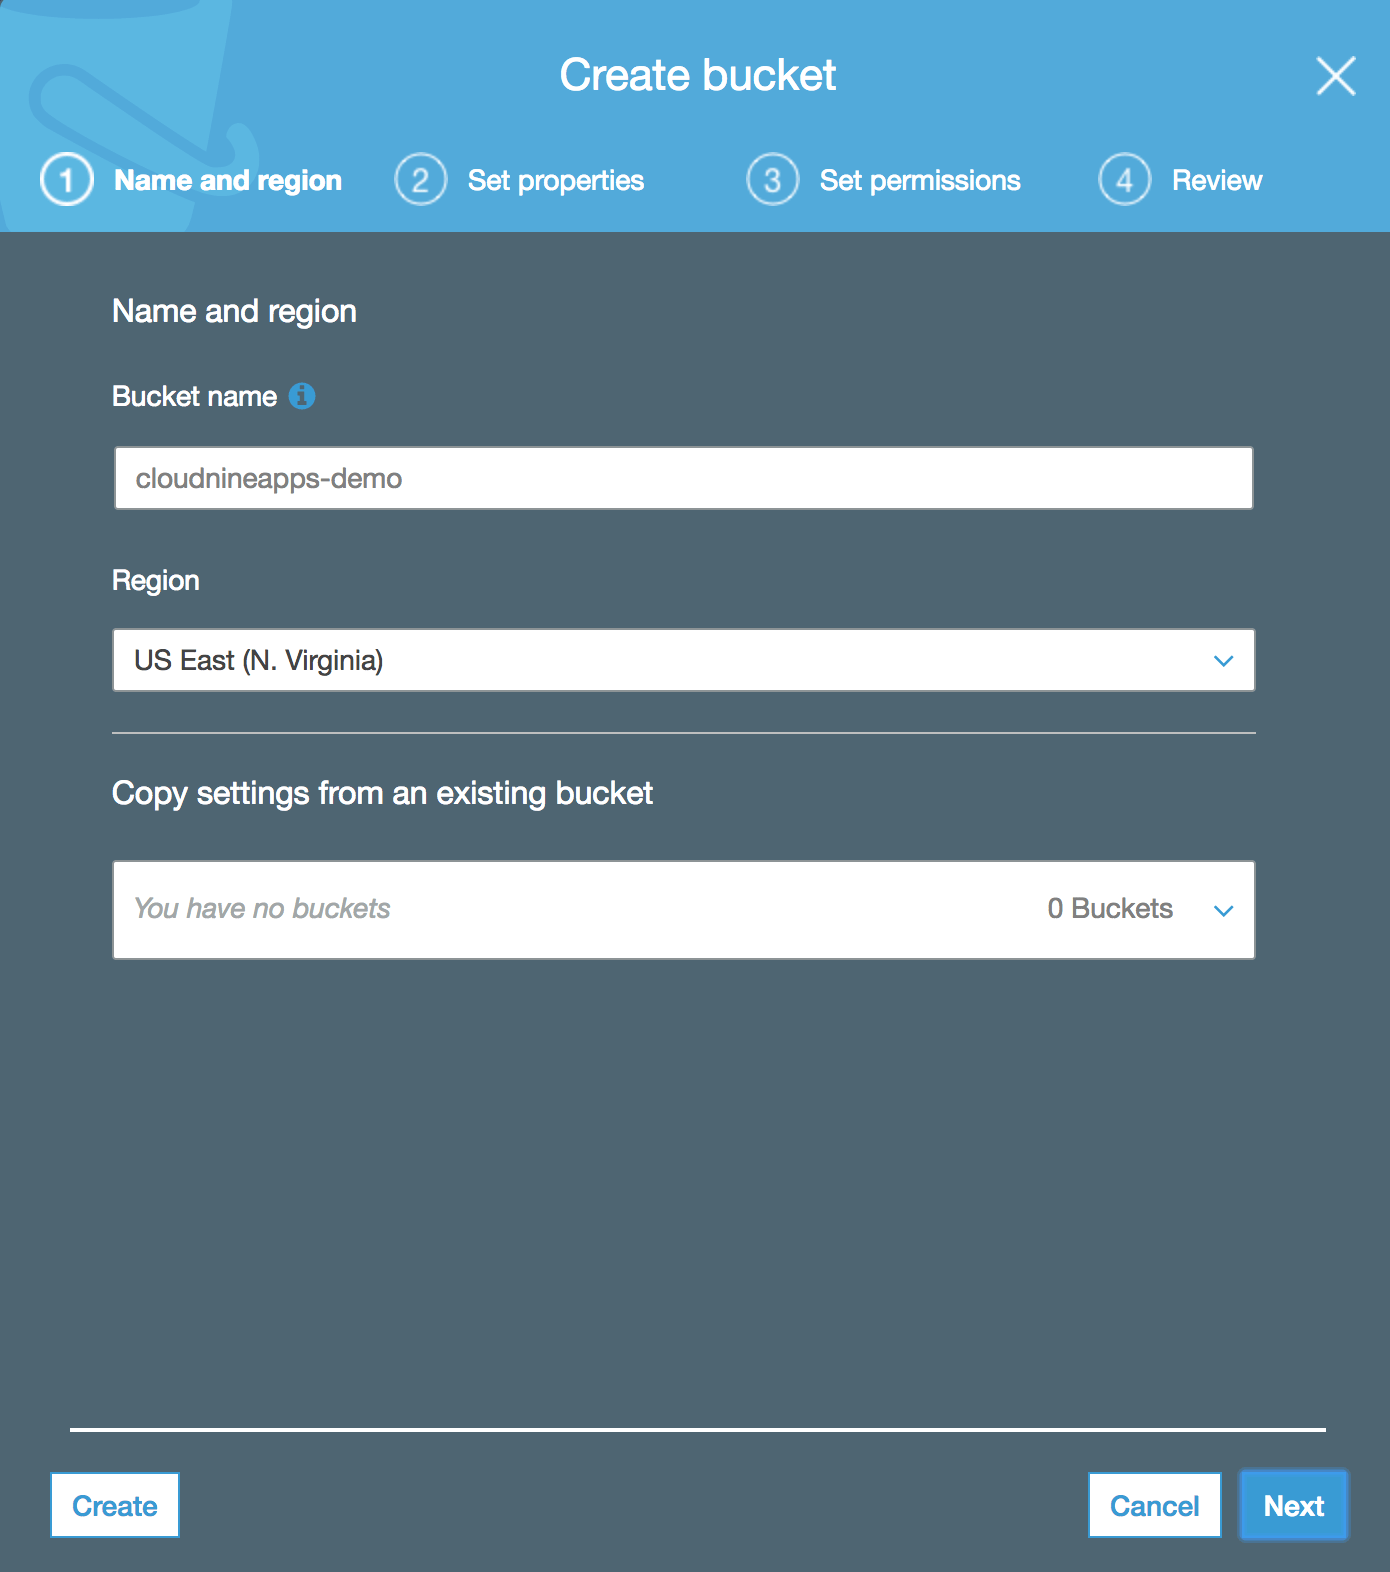
- Specify a universally unique bucket name and choose a region in which the bucket will be hosted. Typically, you would choose the region based on your application or consumers who would be accessing this bucket. You can also choose to copy settings from another bucket here.
Note: If you are practicing the instructions covered in this tutorial, make sure to choose a different bucket name than the one shown here since it has to be globally unique.

- You can set additional properties on the bucket.

- A couple of interesting ones are versioning and encryption. Encryption is used to encrypt the data at rest, which is often required for security and compliance purpose.
- S3 offers various types of encryptions from Server-Side Encryption with S3 managed keys (SSE-S3) to customer-managed keys.
- Of course, you can also use client-side encryption in which first the files are encrypted by the client and then uploaded to S3.
- A couple of interesting ones are versioning and encryption. Encryption is used to encrypt the data at rest, which is often required for security and compliance purpose.
- Set the bucket permissions to specify who can access it. It is recommended to not make the bucket public. Also, keep the original permission here for the owner only. We will see later in this tutorial how to share a bucket with others.

- Review the details and create the bucket.

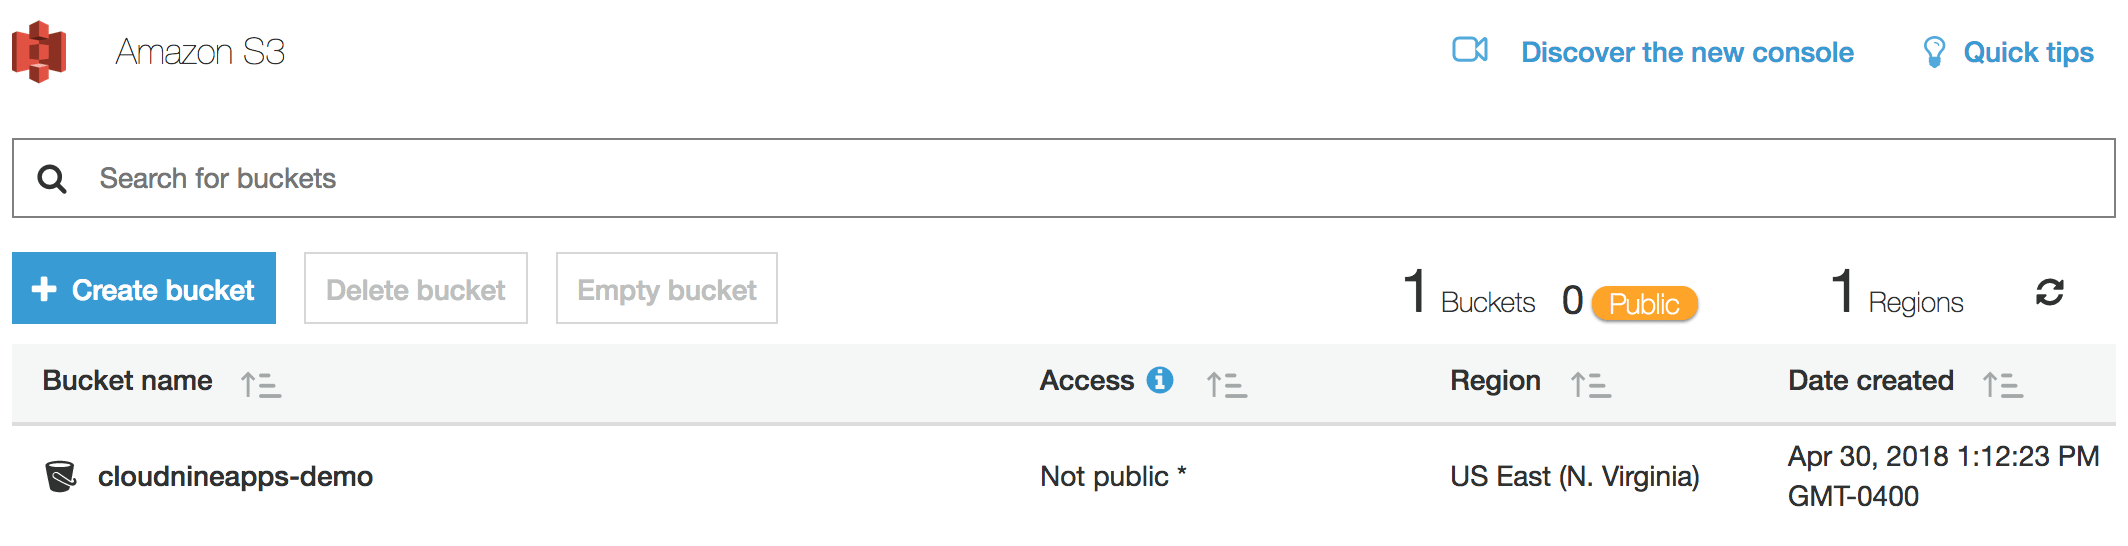
- Once the bucket has been created, it will appear on the list of buckets.


Upload a File to S3
We can now upload a file to our S3 bucket using the following steps.
- Click on the bucket and select Upload.
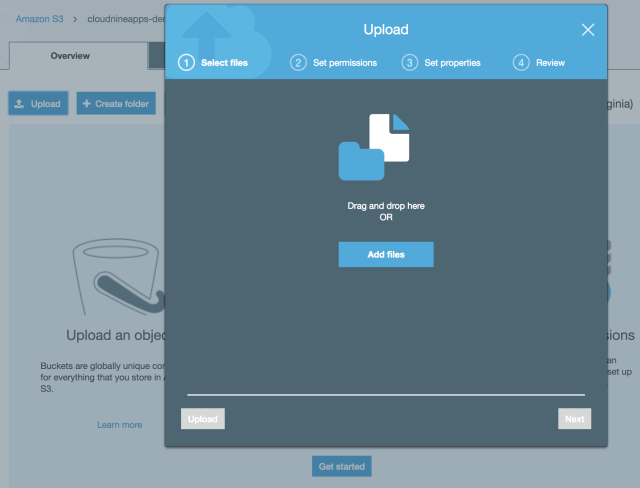
- Add the files to upload.
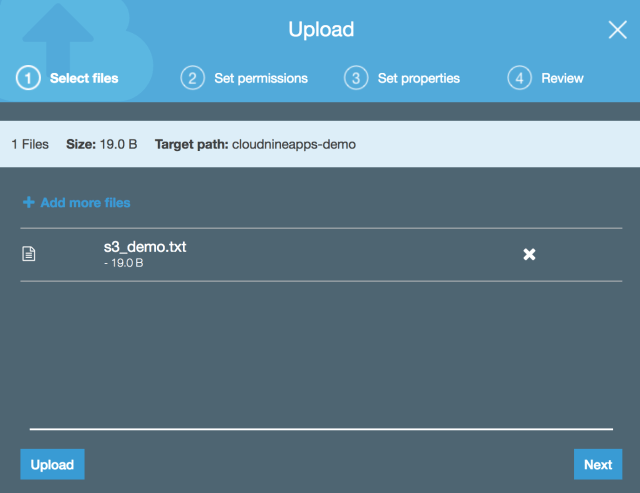
- Specify the permissions. Here you can choose to override the permissions just for the object(s) being uploaded. In most cases, you’ll just go with the defaults.

- Set various properties based on the needs, such as Storage class and Encryption.

- Review the details and upload the file.

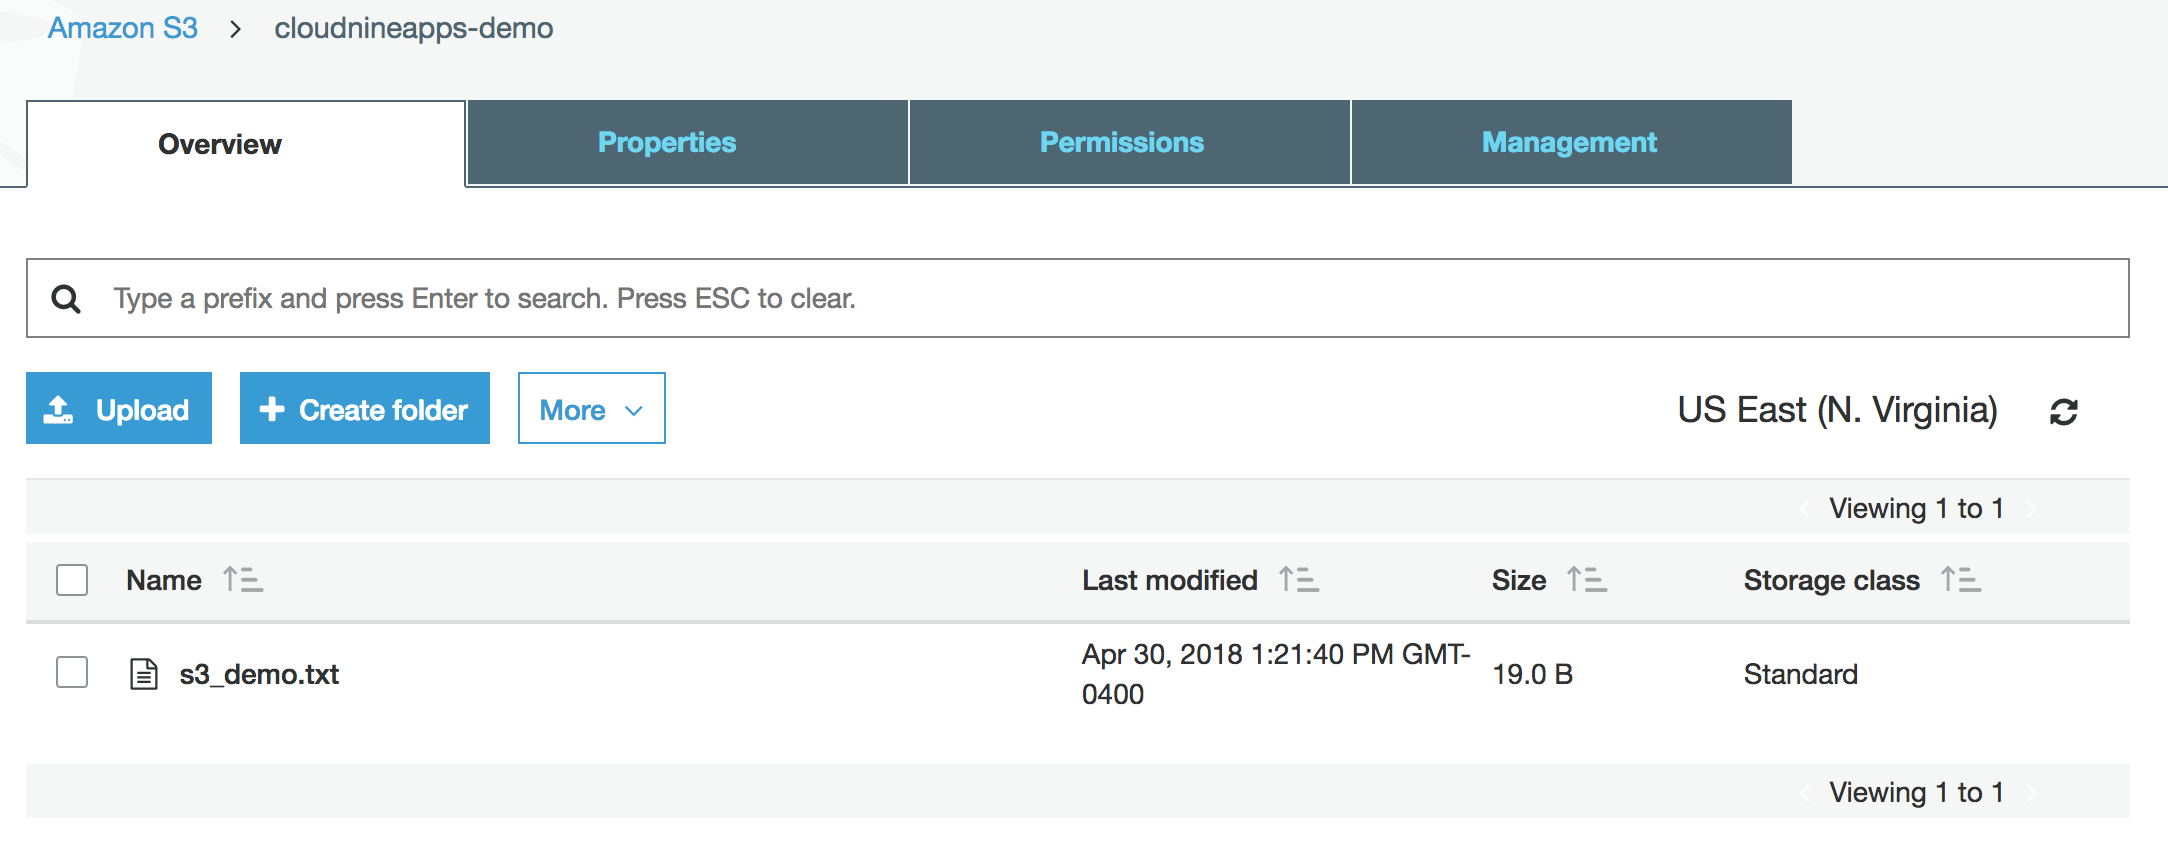
- The file will now show up under the bucket.

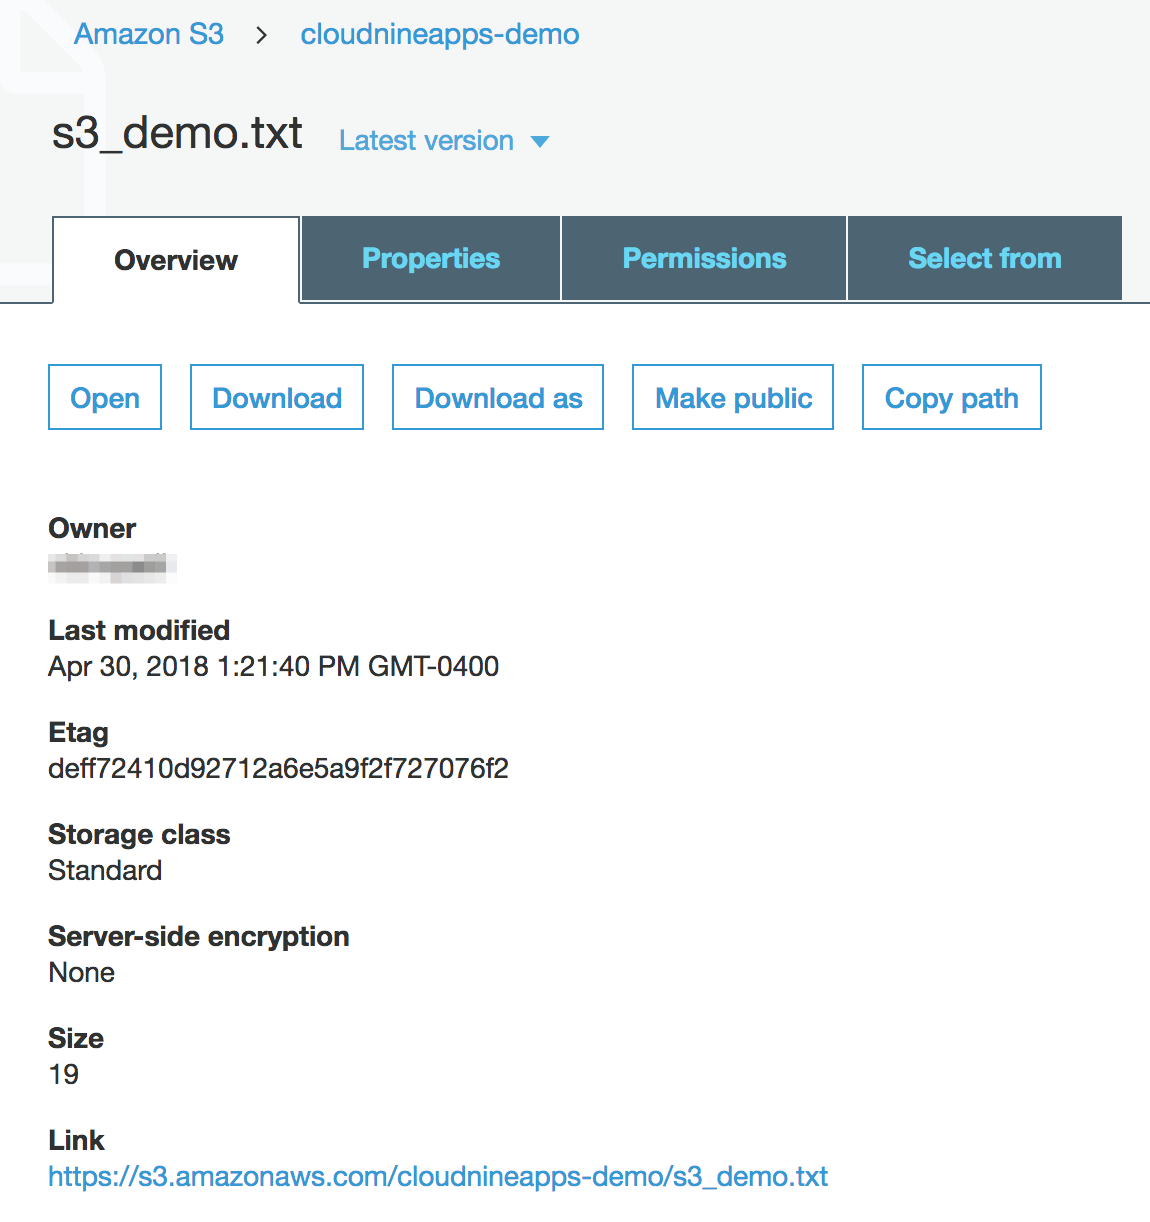
- You can click on the file to get more details and perform actions on it. You can find various details like size and the download link.


S3 Bucket and Object Management
Once you have the buckets and objects in S3, here are some commonly performed operations.
- Get objects
- Update objects
- Delete objects
- Add more objects to buckets
- List objects in a given bucket
- Delete bucket
Understanding S3 Bucket Policies
A bucket policy enables access and type of actions permitted on a given S3 bucket. As such, these are applied at the bucket level and apply to all objects within the bucket. Following are some key capabilities offered by the bucket policies.
- Grant access to specific IAM users.
- Share a bucket with one or more AWS accounts without making it public.
- Restrict access to the bucket to a certain domain or set of IP addresses. A use case for this would be if you are storing content for your website on S3 and want to make sure that only requests from your site are able to access the S3 bucket objects.
Let’s take a look at a sample bucket policy.
{
  "Version":"2012-10-17",
  "Statement":[
    {
      "Sid":"AllowAccessFromSpecificIP",
      "Effect":"Allow",
      "Principal":"*",
      "Action": "s3:GetObject",
      "Resource":"arn:aws:s3:::cloudnineapps-demo/*",
      "Condition": {
        "IpAddress": {
          "aws:SourceIp": [
             "your-public-ip-address/32"
          ]
        }
      }
    }
  ]
}
A bucket policy has a structure similar to an IAM Policy. This policy enables only a specific IP address to get the objects from the cloudnineapps-demo bucket. Let’s review its details.
- The Principal specifies the target for access. In this case, it applies to all.
- We are only providing permission to get objects from the bucket.
- The Resource specifies the target bucket.
- The Condition specifies additional criteria. In this case, we are allowing access from a specific IP address that should be provided in place of the text your-public-ip-address.
S3 Best Practices
Following are some key best practices to follow for S3.
- Avoid making S3 buckets public.
- Use bucket policies for controlling access to the bucket (including sharing with other AWS accounts).
- Use Server-Side Encryption to encrypt the data at rest.
- Make it a practice to periodically review the buckets and their content to ensure any stale content is purged out to save cost.
Happy learning!
– Nitin
Enhance your AWS skills with these hands-on courses for real-world deployments.
![]()
![]()
Also published on Medium.